
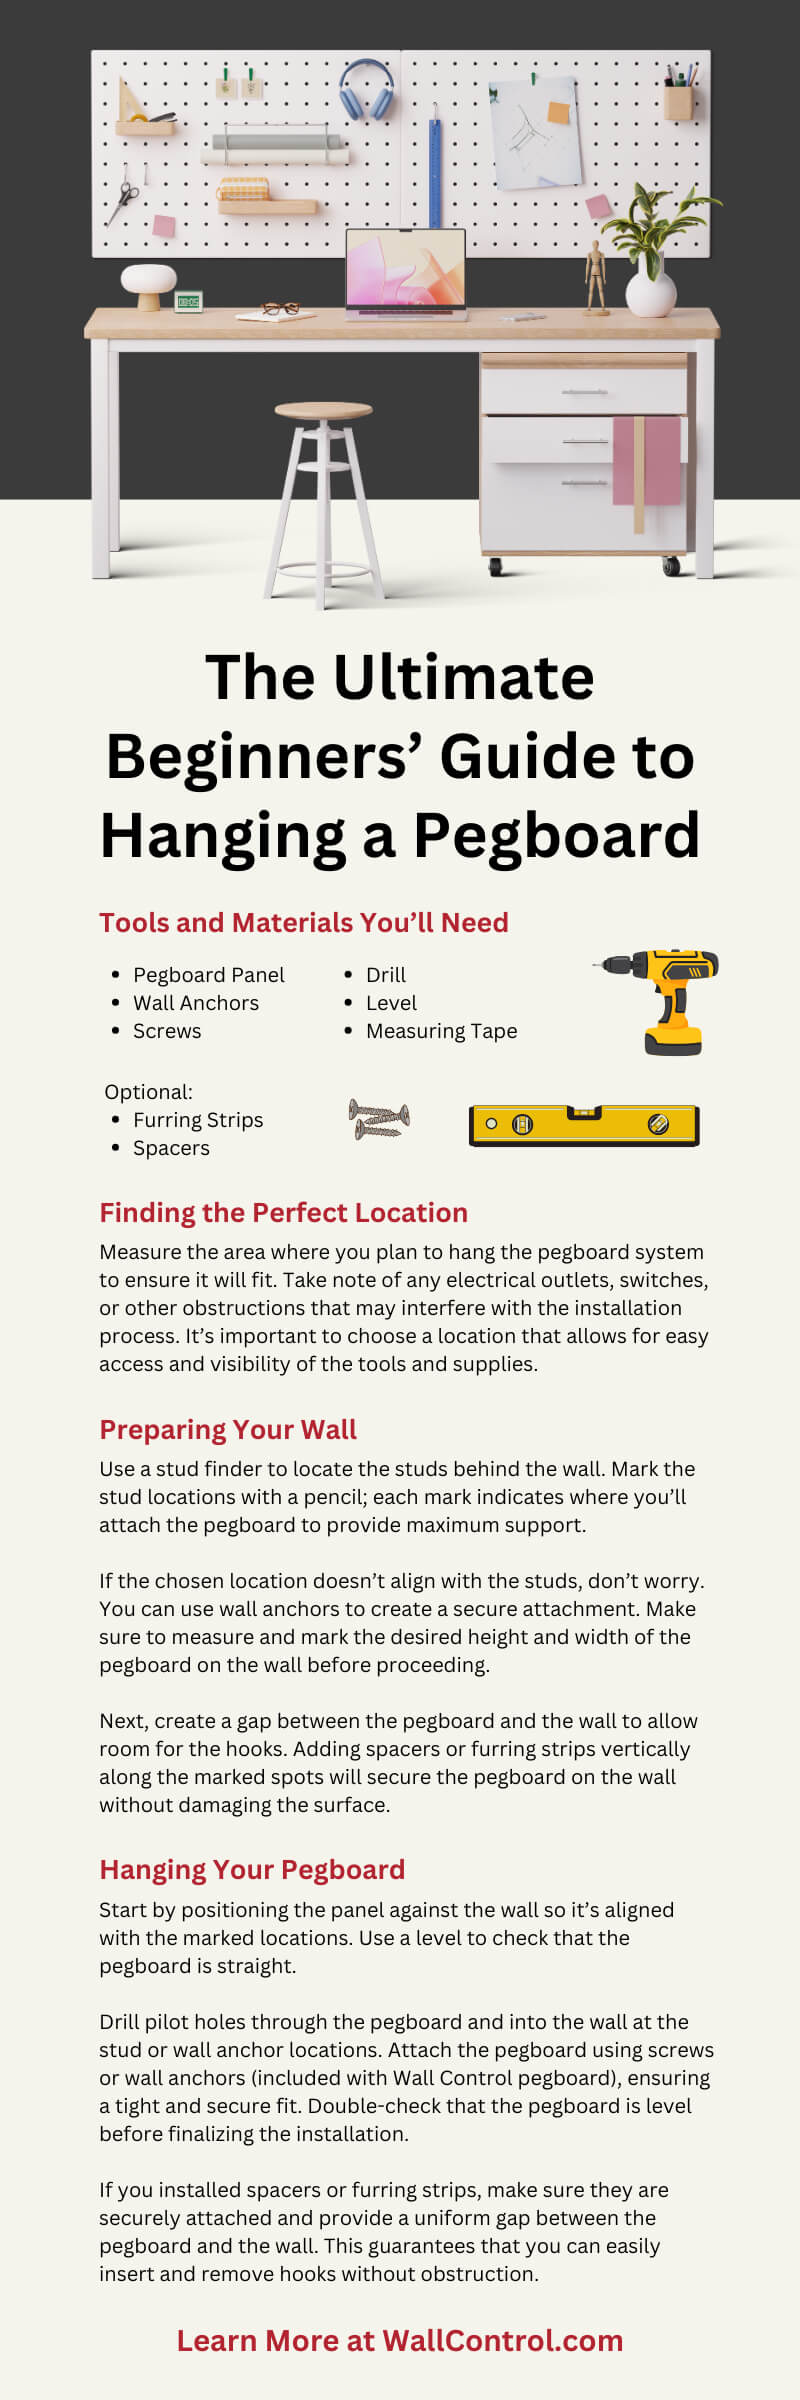
Pegboards have stood the test of time as a versatile and efficient storage solution. They are ideal for organizing tools, kitchen utensils, crafting supplies, and more. With pegboards’ customizable nature, you can tailor them to fit any space. Follow these simple steps to hang a pegboard from Wall Control and revolutionize how you store and access your supplies.
Tools and Materials You’ll Need
To hang a pegboard, you’ll need a several tools and materials. Gather a pegboard panel, wall anchors, screws, a drill, a level, and a measuring tape. One of the many benefits of purchasing a Wall Control pegboard is that they already include mounting hardware such as wall anchors and screws. You may also need spacers or furring strips if you plan to create a gap between the pegboard and the wall.
Next, make sure that the wall anchors and screws (included with Wall Control pegboard) are suitable for the material of the wall. For drywall, toggle bolts or molly bolts work well. For concrete or brick walls, we recommend using masonry anchors. Having the right tools and materials on hand will ensure a successful installation.
Lastly, it’s time to compile hooks and accessories for the pegboard. Consider the types of items you’ll be storing; select hooks and holders to accommodate the items’ shapes and sizes. This step will enhance the functionality of your pegboard, so it’s easy to find your belongings.
Finding the Perfect Location
The next step in hanging a pegboard is finding the perfect location. Examine the items you’ll be storing, then contemplate how frequently you’ll need to access them. Choose a spot that is easily accessible and provides ample space for your needs.
Measure the area where you plan to hang the pegboard system to ensure it will fit. Take note of any electrical outlets, switches, or other obstructions that may interfere with the installation process. It’s important to choose a location that allows for easy access and visibility of the tools and supplies.
An important factor to remember is the structure and material of the wall will affect how you install the pegboard. The wall’s material will determine the appropriate anchors and screws to use for secure mounting. For safety and stability, it’s crucial to ensure that the wall can support the weight of the pegboard and its contents.
Preparing Your Wall
Once you’ve chosen the location, it’s time to prepare the wall. Use a stud finder to locate the studs behind the wall. Mark the stud locations with a pencil; each mark indicates where you’ll attach the pegboard to provide maximum support.
If the chosen location doesn’t align with the studs, don’t worry. You can use wall anchors to create a secure attachment. Make sure to measure and mark the desired height and width of the pegboard on the wall before proceeding.
Next, create a gap between the pegboard and the wall to allow room for the hooks. Adding spacers or furring strips vertically along the marked spots will secure the pegboard on the wall without damaging the surface.
Hanging Your Pegboard
With the wall prepared, you’re ready to hang the pegboard. Start by positioning the panel against the wall so it’s aligned with the marked locations. Use a level to check that the pegboard is straight.
Drill pilot holes through the pegboard and into the wall at the stud or wall anchor locations. Attach the pegboard using screws or wall anchors (included with Wall Control pegboard), ensuring a tight and secure fit. Double-check that the pegboard is level before finalizing the installation.
If you installed spacers or furring strips, make sure they are securely attached and provide a uniform gap between the pegboard and the wall. This guarantees that you can easily insert and remove hooks without obstruction.
Organizing Your Pegboard
Now that the pegboard is sturdy and level, it’s time to organize it. Begin by arranging your hooks and accessories on the pegboard. Experiment with different layouts to find the most efficient, visually appealing arrangement for your items.
Group similar items together for easy access. Some examples include placing pens and pencils in baskets, large tools on hooks, and small pieces—from drill bits to washers—in bins. Incorporating labels or a color-coded system will strengthen the pegboard’s organization and streamline your workflow.
Don’t be afraid to be creative with organization methods. Add shelves, baskets, power strips, or magnetic tool holders to enhance the arrangement’s functionality.
Maintaining Your Pegboard System
Once your pegboard is set up, it will need routine maintenance to remain useful. Periodically inspect the hooks and accessories to confirm they are secure. Replace any damaged components as needed.
Take the time to rearrange and declutter the pegboard to prevent the board from becoming overcrowded. Keeping it organized will save you time and frustration.
The last maintenance step is to update the board’s accessories as your needs evolve. Wall Control offers hooks, holders, and storage solutions to maximize the adaptability of pegboards. We will help make sure your pegboard remains an invaluable asset to your space.
Troubleshooting Common Issues
While hanging a pegboard is a straightforward process, you might encounter issues along the way. Uneven spacing between the pegboard and the wall is one common problem, but you can resolve it by double-checking the alignment of spacers or furring strips before installation.
If the pegboard doesn’t seem sturdy enough, check that you chose the appropriate anchors and screws based on the wall’s material. Double-check that the pegboard is securely attached to the studs or wall anchors.
Some users will have difficulty fitting hooks and other accessories into the pegboard. Different pegboard materials may have varying hole sizes. Check the size of the holes in the pegboard and only use compatible hooks and accessories.
Expanding Your Pegboard Setup
Once you’ve mastered the basics of hanging a pegboard, you may want to expand your setup to accommodate more items or different areas. Consider adding additional pegboard panels or creating separate zones for different types of items.
Expanding your pegboard setup will enhance organizational capabilities and add functionality to various areas of your life. With each new addition, you’ll find even more ways to simplify and improve daily routines.
You can also explore creative ways to integrate pegboards into other areas of your home or workspace. Perhaps you want a pegboard in the kitchen to store cooking utensils or in the garage for gardening tools.
Get Organized With Wall Control
The applications and customization options for pegboards are endless! To learn more about how to maximize your pegboard, reach out to Wall Control! We offer a wide range of pegboard products and accessories to suit all organizational needs.
Share:
Top 5 Tips for Organizing Your Tiny Office With Pegboards
7 Tips for Organizing Your Tools on a Pegboard